Mash Up Self Portraits by Sasha Ward

Left: Self portrait aged fourteen.                                            Right: Self portrait years later.

Left: Self portrait aged fourteen. Right: Self portrait years later.

This is the self portrait (above left) when I was fourteen that made me want to revisit the self portrait theme. Unfortunately, none of the drawings I’ve done over the past few weeks, particularly the ones in pencil, have been anything like as good. So I decided to draw a new portrait (above right) using the 14 year old one as a template so the two drawings would fit on top of each other, and the two painted glass heads that followed would show my face in two different time periods. I didn’t labour over the glass painting too much and made a few versions before I got a pair of heads that matched up to good effect (below).

Left: Two layers of head encircled by painted scraps.        Right: Self portrait two 270 x 270mm.

Left: Two layers of head encircled by painted scraps. Right: Self portrait two 270 x 270mm.

In the finished square panel (above right) I had fun with the leading. A lead line loops out of the side of the head to form a background and shoulders made of glass scraps from two recent samples in my favourite colour, which has always been yellow. I put the youthful head on top of the older one so the hollows and wrinkles are less prominent, making me wonder whether I should get a fringe cut again.

Detail of self portrait two

Detail of self portrait two

Left: Four self portrait drawings on top of each other.            Right:  First version of self portrait three

Left: Four self portrait drawings on top of each other. Right: First version of self portrait three

The idea for self portrait three was to paint two quick heads and then combine the best parts into one by chopping them up. I had a pile of drawings of me in the same position (leaning anxiously into the mirror) to copy from (above left) and an idea for a background of wavy lines on top of a roughly painted section. This plan (above right) didn’t really work, the piece had a sombre, anxious appearance so I decided to do some more chopping and introduce coloured scraps to enliven the piece.

Self portrait three 265 x 475mm.

Self portrait three 265 x 475mm.

Detail of self portrait three

Detail of self portrait three

Self portrait number three was supposed to be the last one, but I still had half heads left from the last two portraits. So I shoved these bits together to make another head, combining it with an old vibrant green sample for the background to make a tiny mash up portrait. It felt as if I was finding a way to make the self portrait more light hearted, getting away from the intense stare of an artist looking at herself in the mirror.

Mash up self portrait 160 x 180mm

Mash up self portrait 160 x 180mm

Self Portrait Lockdown Challenge by Sasha Ward

As we went in to lockdown two months ago I had a few self motivated (as opposed to commissioned) projects I wanted to work on. One was to tackle the self portrait. The new drawings I did seemed less competent than the ones I’d done as a teenager, but still I thought I’d use one as the template for some glass painting - something I think I have got better at over the years. I worked away adding and scraping back the black iron oxide paint before putting the glass in the kiln overnight at least four evenings running. One (below left) was more painterly, the other (below right) was more scratchy and I looked horrendous in both of them - well I was recovering from illness at the time.

Glass self portraits, each approx 230mm square

Glass self portraits, each approx 230mm square

However, when I put one piece on top of the other, there was an amazing transformation as someone that looked a bit like me, which neither of the pieces did on their own, emerged. I kept it in the window for a while, as I checked that I really did like it.

One self portrait on top of the other

One self portrait on top of the other

I also knew that I wanted to do something with these pieces and that I would ruin some quality they had in the process. The panel I made (below) was my second attempt. In the first I had tried unsuccessfully to extend the painting beyond the head shape. Here I kept the extra painting to a neat hairstyle beyond the lead line round the head on fragments of grey painted glass, similar in tone to the face. I used coloured pieces of old samples for borders, all this in 6mm glass to match the thickness of the double head.

Glass Self Portrait I

Glass Self Portrait I

This self portrait only works from the front, with the scratchily painted glass on top. Viewed from the back (below right) with the more painterly glass portrait on top, the illusion that it looks a bit like me disappears and one eye dominates. Difficult, unsettling and surprisingly nerve-racking to make public, the glass self portrait is something I’ll continue doing.

Left: Head surrounded by (high heart) lead  Right: Head viewed from the back

Left: Head surrounded by (high heart) lead Right: Head viewed from the back

Clothes in stained glass by Sasha Ward

I said tell me the truth and I got a lie, ink drawing by Ray Ward, and my interpretation in stained glass.

I said tell me the truth and I got a lie, ink drawing by Ray Ward, and my interpretation in stained glass.

For my second attempt at interpreting one of Ray’s drawings in stained glass (above) I stuck to the original drawing much more closely. For the figure and the trees I painted with the glass pieces on top of a photocopy of the drawing, disguising the lead lines in the web of branches that pretty much follow his brush strokes. I had intended to stick to the original tones too, but when I swapped the dark green foreground I cut first to the piece of old pressed patterned white glass, it looked so much better.

The third piece (below) was from a smaller drawing of a figure surrounded by details that I thought would be interesting to copy. Again I put the cut glass pieces directly on top of the drawing for painting and again I was going to stick to the tones of the original. Then I found a piece of perfect table coloured flashed glass which contrasted well with all the blues. It’s the same piece I used for the sea (above) and the dressing gown (below), but look how different it appears against the other colours.

The Summons, ink drawing by Ray Ward and my interpretation in stained glass.

The Summons, ink drawing by Ray Ward and my interpretation in stained glass.

Details from the two panels.

Details from the two panels.

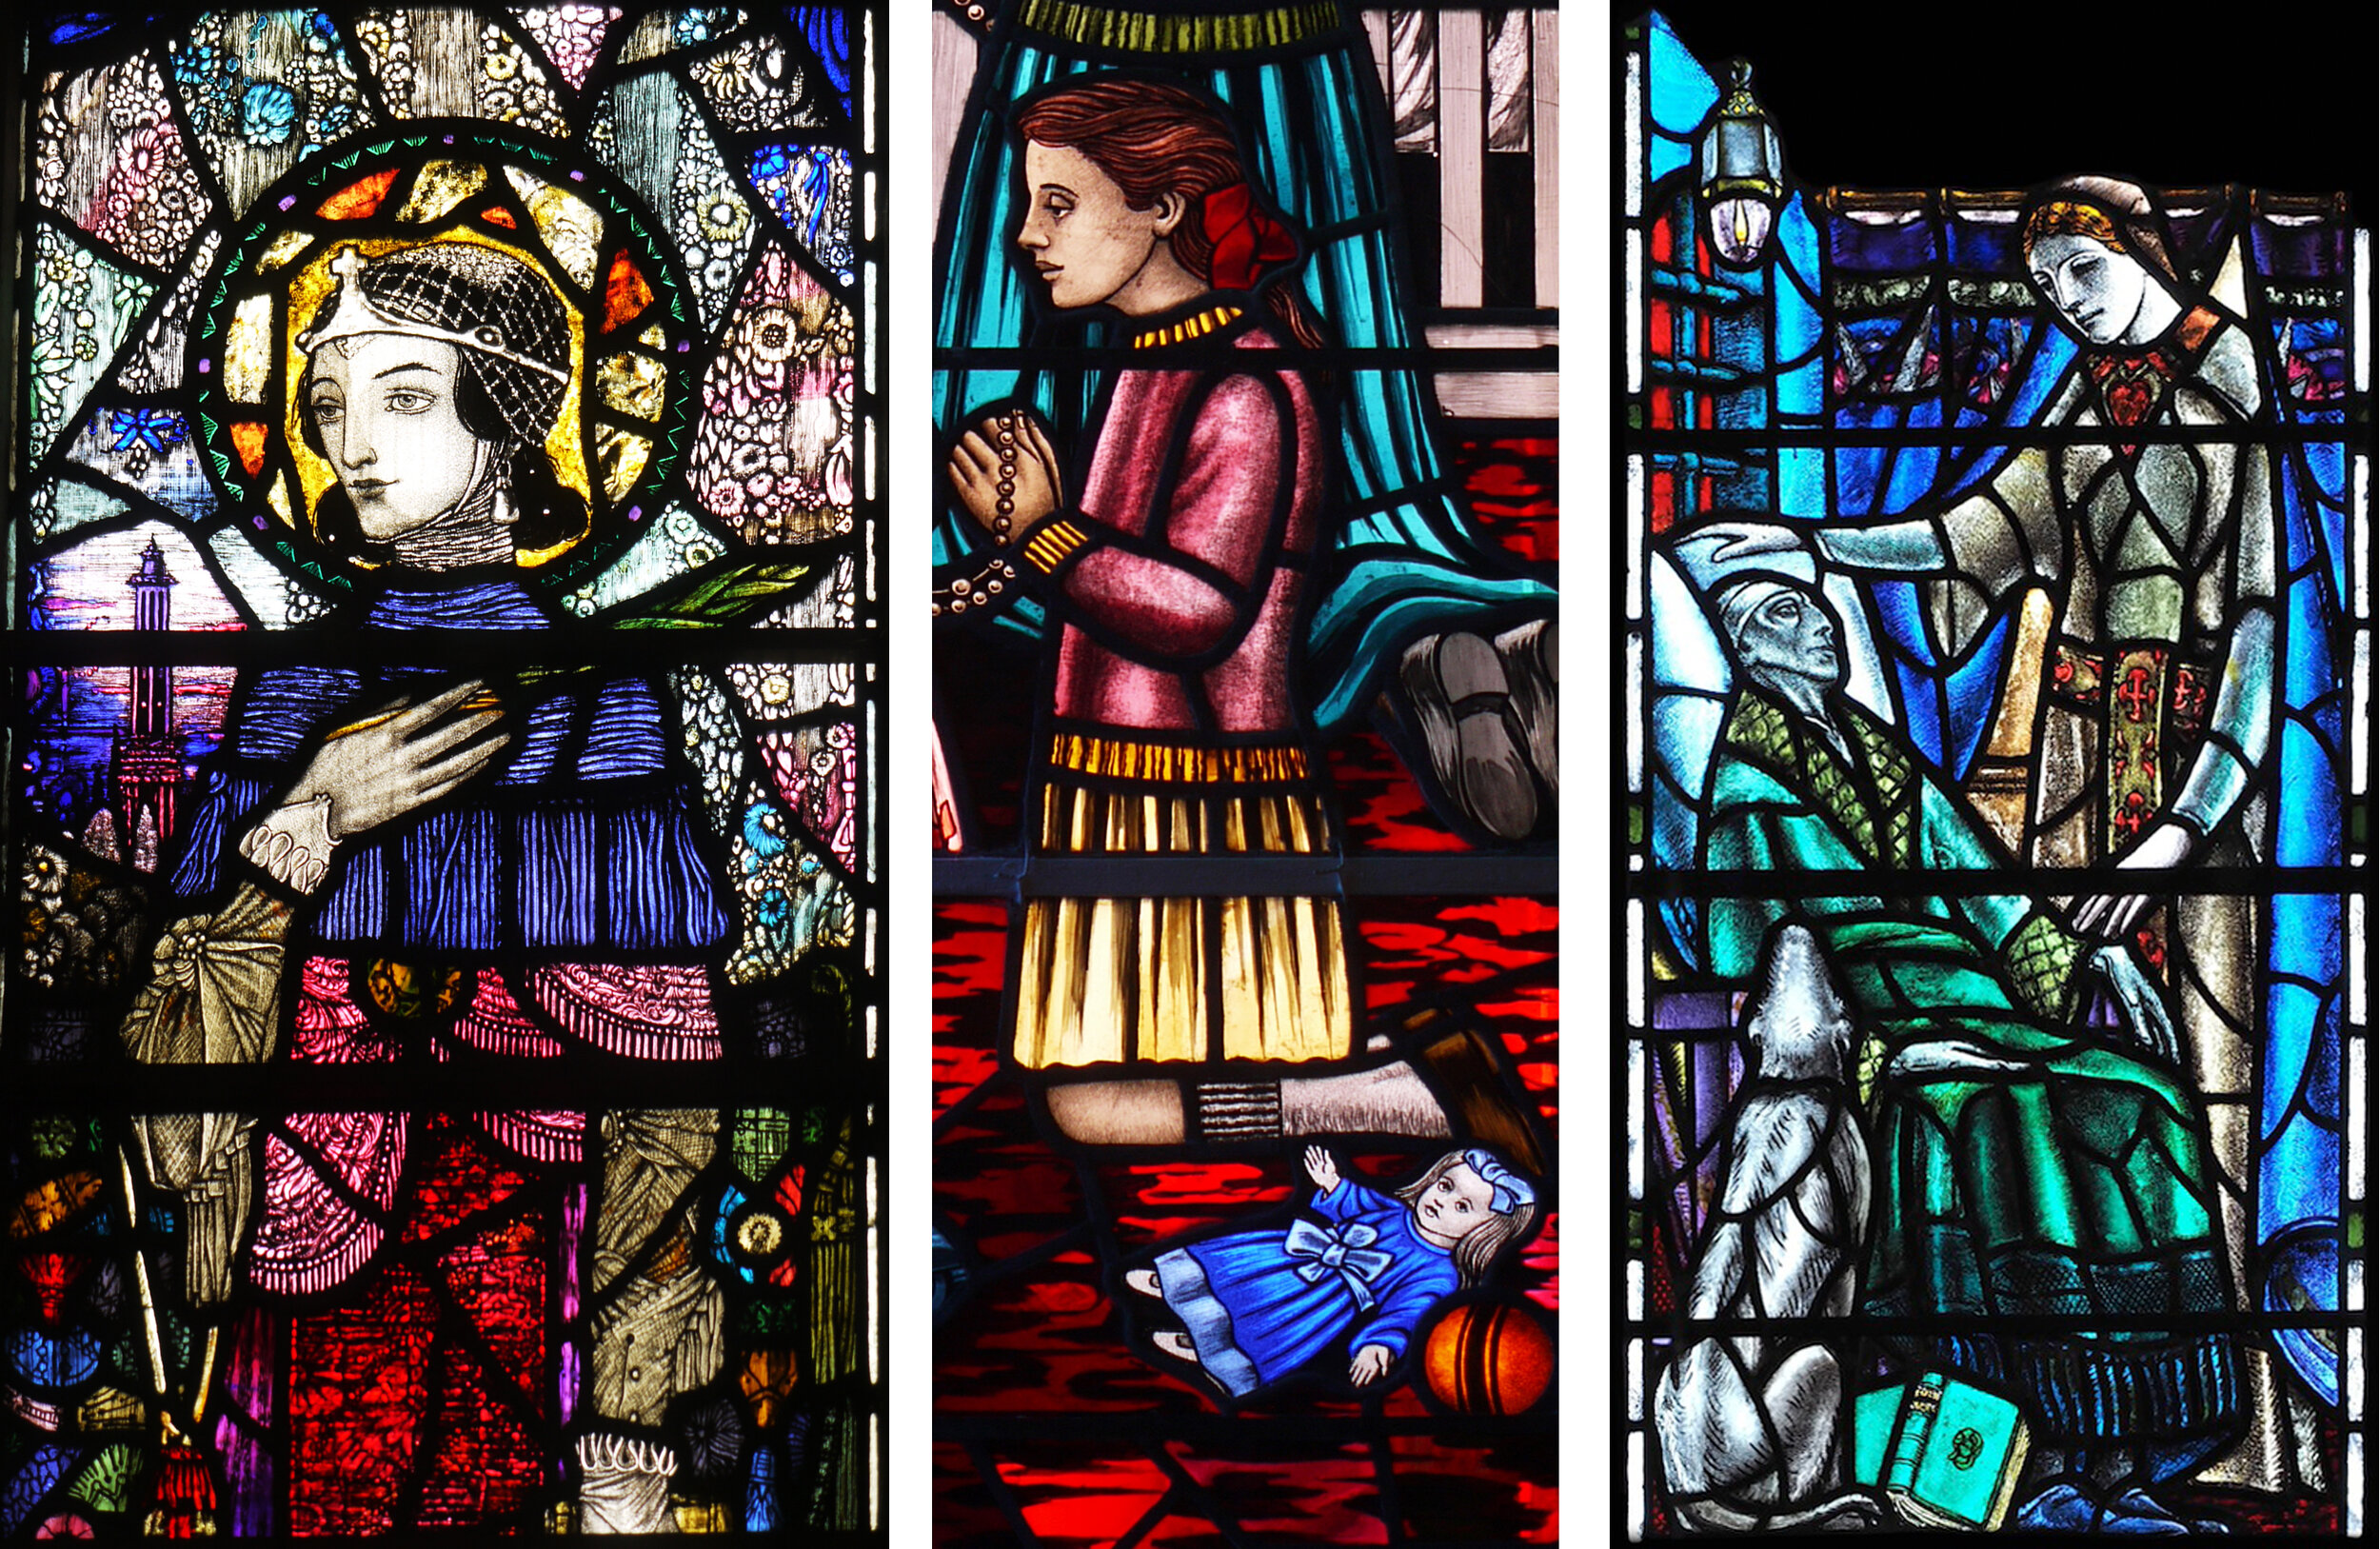
The powdery blue dressing gown drew my attention to the fact that what really worked was the clothes. This is also true of the first piece I made (see previous post) when what I was intending to concentrate on was figures in a setting. The details in Ray’s clothing reminded me of aspects of clothes in stained glass - specifically the weird neck coverings on Harry Clarke’s figures, the 1950s style skirts and jumpers in William Dowling work for Harry Clarke studios, and an even more fabulous dressing gown in Douglas Strachan’s 1944 Womanhood Window.

Harry Clarke at Sturminster Newton, William Dowling at Drimoleague, Douglas Strachan at All Saints, Cambridge

Harry Clarke at Sturminster Newton, William Dowling at Drimoleague, Douglas Strachan at All Saints, Cambridge

Interpretation by Sasha Ward

Drawing on grey card by Ray Ward 2019, 840 x 590 mm

Drawing on grey card by Ray Ward 2019, 840 x 590 mm

With projects put off during lockdown, I’ve turned to something I’ve been wanting to do for ages - that is the interpretation of one of Ray’s black and white drawings in stained glass. People have often suggested this would work, and the narratives in his recent series of large drawings do remind me of some of the things I really like about medieval stained glass. Thinking of those panels that tell a story, I chose the drawing above, where there’s a lot going on, for my first try.

Bottom section of Ray’s drawing with blacks and whites reversed.

Bottom section of Ray’s drawing with blacks and whites reversed.

I decided to make the glass panel square and quite small - about half size. I knew I wanted to do the three foreground figures in dark red flashed glass with the lines sandblasted out and the other colours followed from there (below left). I was pretty pleased as the first few pieces came through the painting and sandblasting processes (below right), but then things started getting over complicated.

Left, coloured glass pieces cut: Right, some of the pieces after firing and sandblasting

Left, coloured glass pieces cut: Right, some of the pieces after firing and sandblasting

Left, all the pieces after firing and sandblasting. Right, version 1 finished

Left, all the pieces after firing and sandblasting. Right, version 1 finished

I finished the panel (above). I’d removed all the shadows from the original drawing as well as the figure squished in between the front three and had put the seated figure on a little bit of pink glass. I also thought the trees would make a good decorative border. I finished the panel and thought I’d sleep on it before chucking it in the bin. The next morning, Ray agreed “It wasn’t up to my usual high standards”, so I took off all the bits I couldn’t stand and replaced them with nice bits of dark grey streaky glass.

Version 2 finished, 280 x 260 mm, shown in the window in natural light.

Version 2 finished, 280 x 260 mm, shown in the window in natural light.

Conclusions:

  1. If in doubt use dark grey glass

  2. Simplify even more than you think you need to

  3. It’s easy to do a good bit of detail, but getting the composition right is hard.

Detail of version 2 shown on the lightbox (which is very scratched).

Detail of version 2 shown on the lightbox (which is very scratched).

Inspirational students by Sasha Ward

Favourites from previous courses: left 2018 shown against the flint walls of the house, right 2019 (scale shown is on the lightbox).

Favourites from previous courses: left 2018 shown against the flint walls of the house, right 2019 (scale shown is on the lightbox).

The course I teach at West Dean College starts with an illustrated talk, of which the most popular section is the gallery of past students’ work. Although I aim to show a range of techniques and approaches to the craft, inevitably the panels I choose to show are the ones I like best. My two previous favourites are shown above, they are similar in their modular style which means the panels are fun to make as you can change your mind about which piece of glass goes where. On this year’s course, just completed, there were three students working in three different ways whose work I loved.

Six pieces of enamelled glass by Ursula Yeates.

Six pieces of enamelled glass by Ursula Yeates.

I’ve just inherited some glass enamels for students’ use - just as well as Ursula really lays it on thick! This time she painted at least thirty smallish glass pieces with opaque and transparent enamels, experimenting with spectacular results. She leaded some of these pieces together, but they are also good enough on their own - the top middle (above) at only fifteen cms tall, is amazing. All this painting inspired the group of students to use more paint in their stained glass panels than they usually do. Despite my talk with historical examples, I find it hard to convince people that the best stained glass windows are actually also painted.

Angela covered her pieces of glass with black iron oxide and drew into it with a stick in the traditional way. At the bottom and top of her tree you find a fox and a bird’s nest which are both drawn so confidently, while for the leaves she drew on a large sheet of green glass and then cut it up. The whole panel is lovely, the details (below) show the freedom in her drawing.

Painted details from stained glass panel by Angela Ibbs.

Painted details from stained glass panel by Angela Ibbs.

The last set of panels, just some of the work that Katie did in five days, combine drawing in black iron oxide, enamel painting and pattern making. The sea urchin panel (below left) at about twenty cms. tall, was her sample piece and so good that I can imagine an enormous window like this, with shapes and patterns repeating. On her house plant panel (below left) she used some of this scratching off technique, but also sandblasting and painting with enamels on pieces of glass cut to a very satisfying plan. These last two students were absolute stained glass beginners. All of them have inspired me, now back in my own studio, with the joy of making.

Two panels by Katie Bebbington, left sea urchins, right house plants.

Two panels by Katie Bebbington, left sea urchins, right house plants.